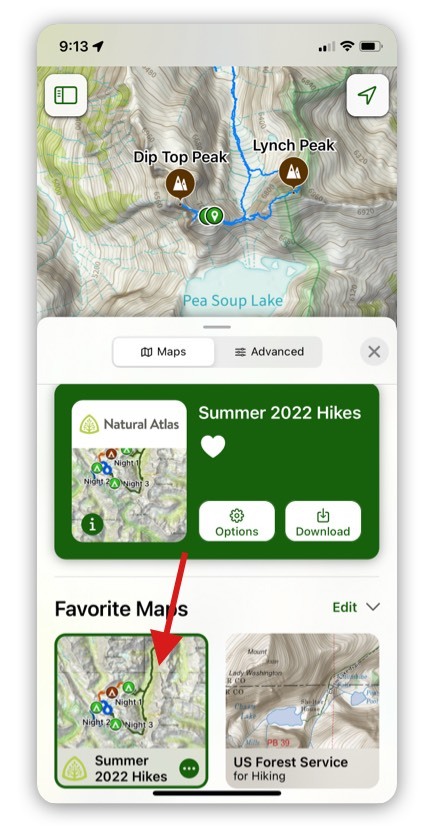
If you love planning backpacking trips as much as we do, I bet you have ended up with a messy map that looks like this:
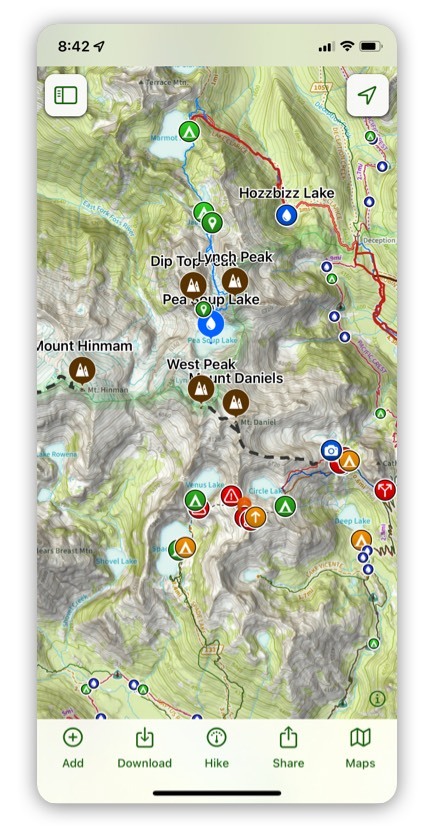
I will plan a number of trips each year, but only go on a few. I don’t go back and delete information for planned trips. Over time I end up with lots of trip variations in one area and the map gets very messy.When I am actually out on a hike, I don’t want to see information for all the trip variations that I have planned, I just want to see the data for the trip I am actually on.Thankfully there is a great way to do this in Topo Maps+.
1. Folders
First, you have to put data for a trip into a folder. You can organize your folders how ever you want. I usually have top level folders for areas (ie Alpine Lakes Wilderness, Selkirk, etc) and then folders for individual trips within each folder.
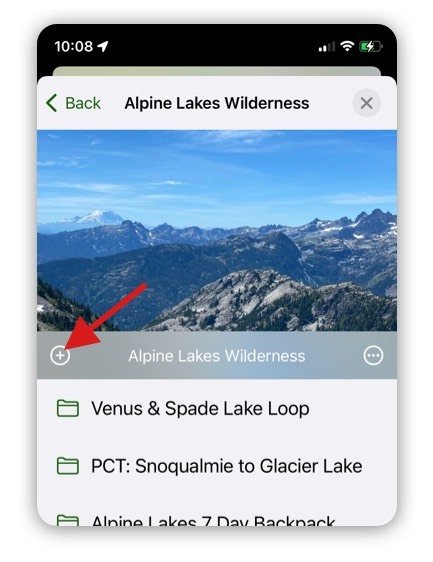
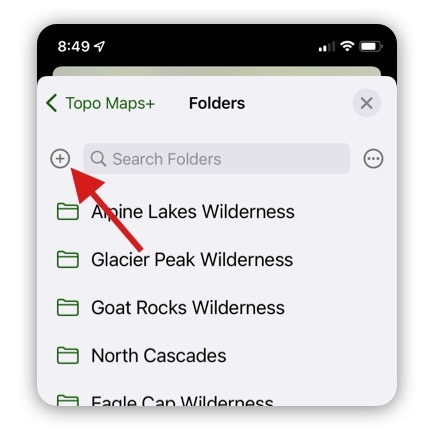
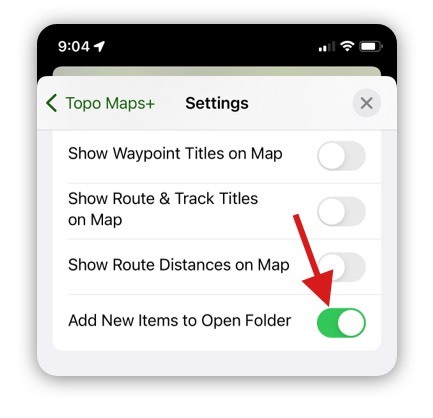
Pro Tip: Enable the setting “Add New Items to Open Folder”. Then browse to a folder. (If you are on an iPad or Mac you will see new data added to that folder. On an iPhone tap on the “x” button and then new data will auto add to that folder.)
2. Map Setup
Next, you need to setup a map view to only show data from the folders you are interested in. I generally set it up with all folders for my summer trips.
To do this, you will want to turn off “My Data” and then tap on “Select Overlays” in the Advanced Map tab.
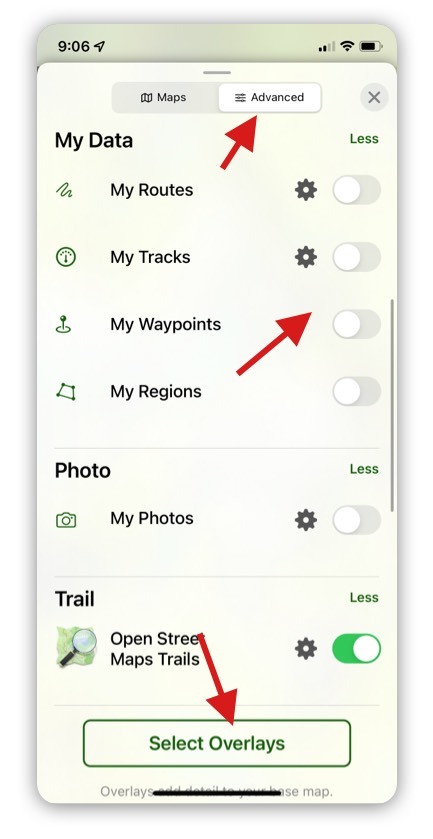
Then, select “Folders” and pick the folders that have the data you want to turn on.
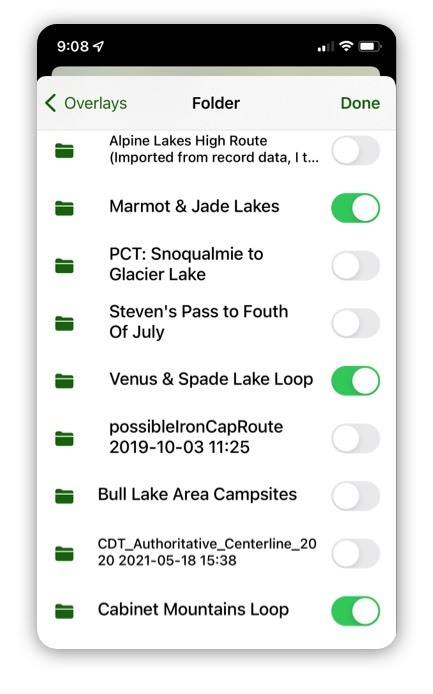
Now, your map is set up to show you just the data from these folders.
3. Save Map View
Finally, you will want to make it easy to switch to this map view. Under the Advanced map tab, tap on “Save Current Map View.” Give your saved view a name and now you can quickly switch back to this view.
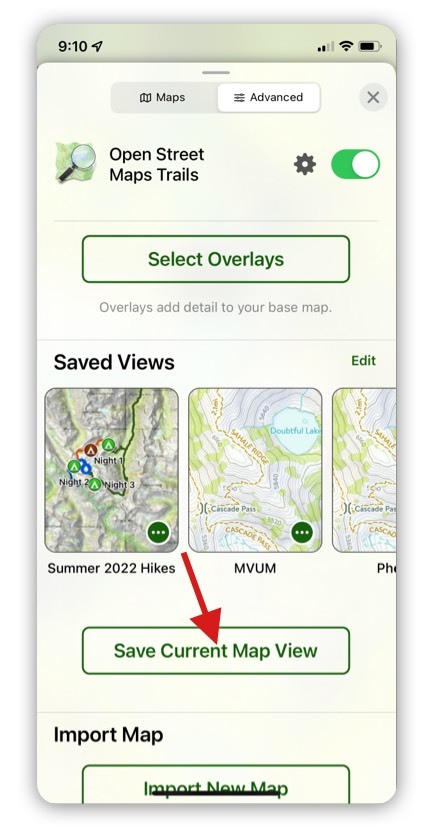
By default, when you save a map view, it will also be added to your Favorite Maps on the main Map tab. Now, you can quickly switch to this map configuration.