How to Start a Recording:
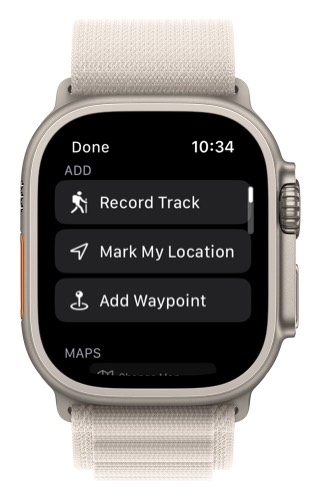
Tap on the menu button in the lower right corner.

Tap on Record Track.
Recording Screens:
To bring up the controls and metrics tap on the recording distance in the lower left corner.
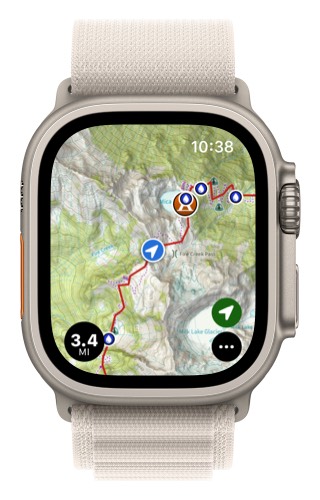
This will bring up track recording screens. Swipe sideways to move between the screens.
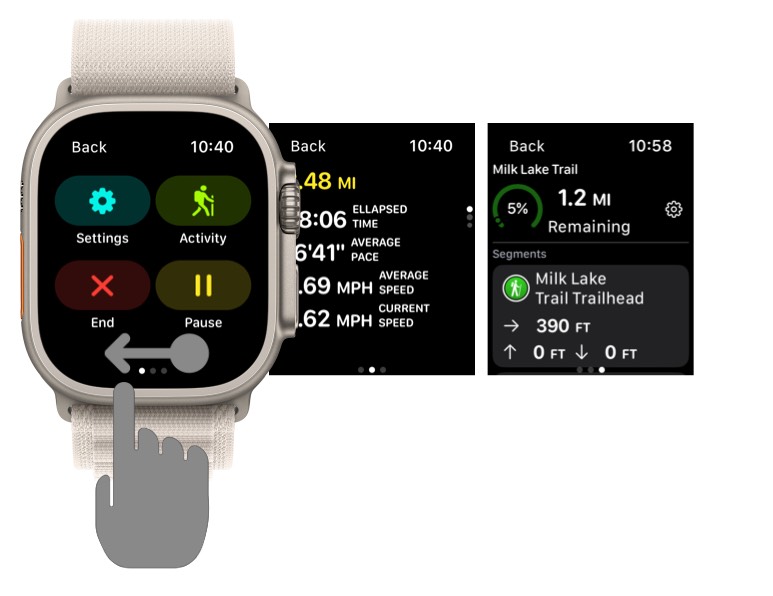
The left most screen has the recording control buttons. The middle screen is the recording metrics. The last screen is progress on trail.
Screen 1: Recording Controls Screen
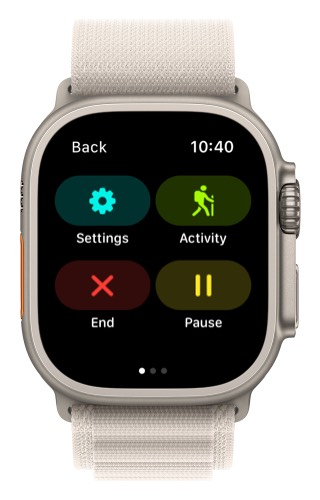
- End: This button will stop the recording.
- Pause: This button will pause and resume a recording.
- Settings: This will let you change the settings for recording tracks.
- Activity: This will let you pick which kind of activity you are doing while recording.
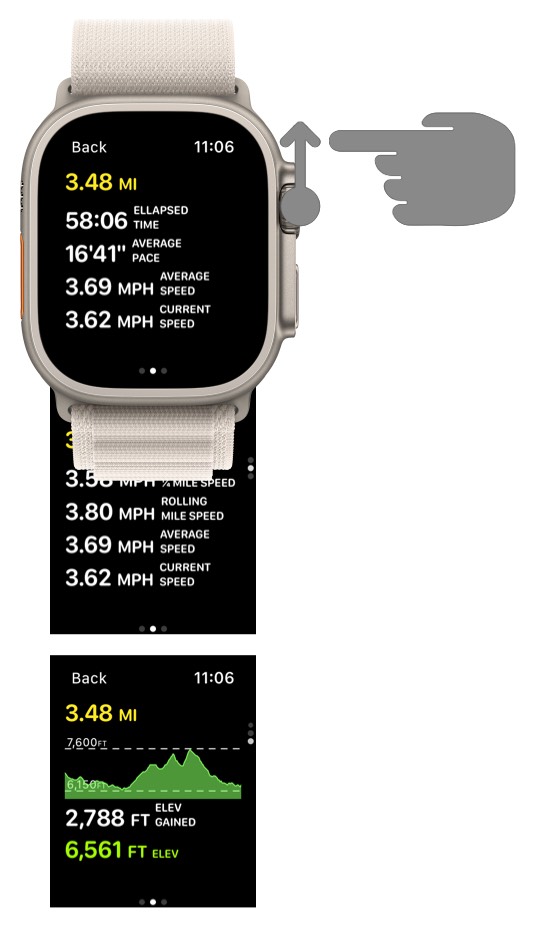
Screen 2: Recording Metric Screen
Swipe up or rotate the digital crown to see the different recording metric screens.
Screen 3: Progress on Trail Screen
When you first come to this screen select the trail you are following.
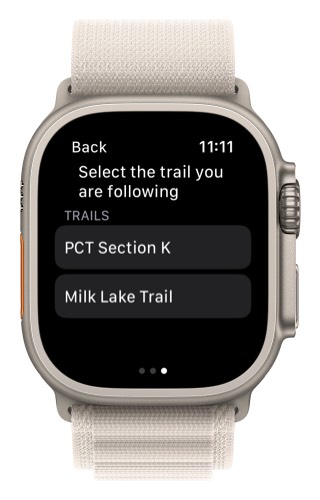
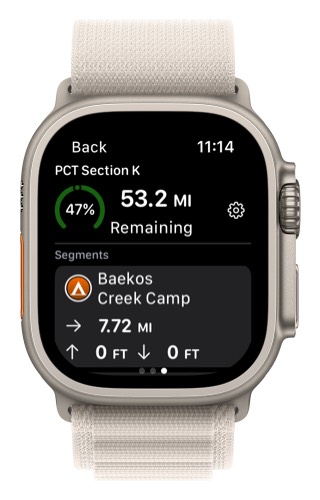
Then this screen will show your progress on that trail. (Note: “Trails” in the Watch only show up if they are saved as a “Route” in your iPhone. If you are using an existing trail, just duplicate the Trail as a Route under Properties.)
The top will show the distance remaining and the bottom will have the segments. You can add new segments by adding a waypoint on the map. (The waypoint just needs to be close to the trail.)
Recording Settings:
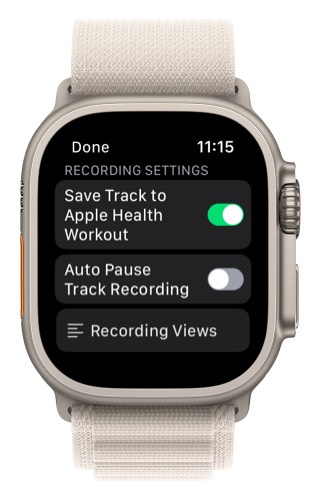
- Save track to Apple Health Workout will also save your recording track as an Apple Health workout. Only one app can record a workout at a time. So if you want to record your workout with the Workout app, you will want to turn off this setting.
- Auto pause track recording will automatically pause the recording when you stop and it will resume the recording when you start moving again.
Customize Metrics:
Tap on Recording Views in the track recording settings to customize which metrics you see for your recording.
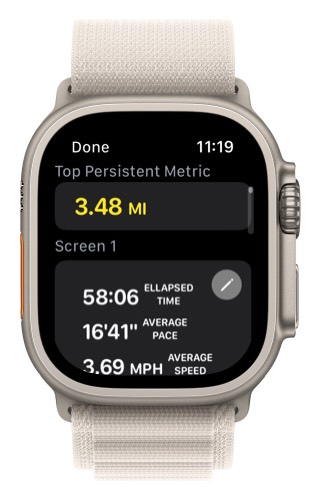
If you tap on the metric just below “Top Persistent Metric” you can change the one metric that appears on all metric screens.
You can change the color and/or you can pick a new metric.

There are 3 metric screens and 4 elevation screens. At the bottom of each screen you can toggle on/off if you want the screen included in your metrics. The first metric screen is required and cannot be toggled off.
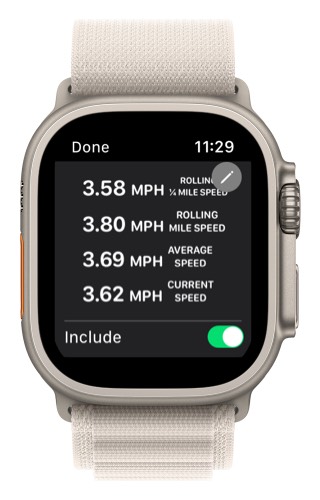
You can tap on each screen to change the metrics for that screen.
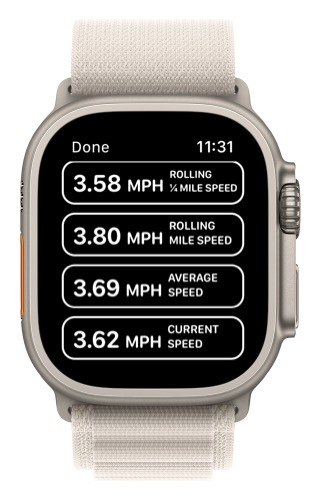
You can tap on each of these 4 metrics to pick a different metric and/or color for each metric.
Customization Example
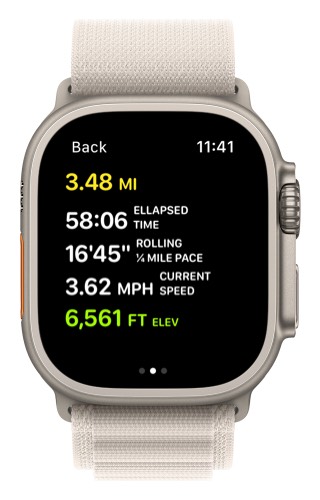
When I am hiking I practice the “Navigators Mindset” . I like to set up my metrics to help with this.
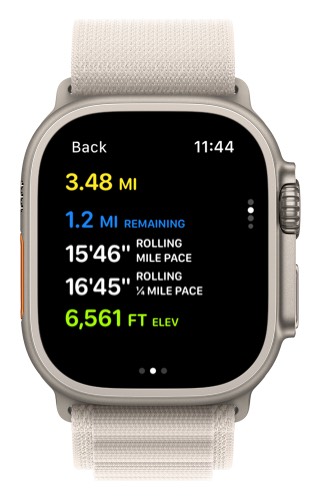
I always put my current elevation at the bottom in green and my distance at the top in yellow. I can glance down at my watch and see my total distance and my current elevation on any screen. Seeing my current elevation is important when I am practicing the Navigators Mindset. I keep track in my mind for roughly how far and what elevations I should cross trails, creeks, ridges, etc.
I then like to have my current speed and rolling 1/4 mile pace available. I use the rolling 1/4 mile pace to know roughly how long it will take me travel the next mile. This is also really important with navigators mindset. If I know that I should come to ridge in roughly 1.5 miles and my pace is about 20 min/mile then I know that I should see the ridge is about 30 mins. If after 40 minutes I don’t see the ridge I stop and check my maps to see what is going on.
I then also like to add my remaining distance to one of the screens. I like to put it in blue so that I know this is an approximate distance. One of the reasons I like adding this to a metric screen is because I can use the digital crown to move between these screens. When I am sweaty on the trail or when I have on gloves I prefer to use the digital crown over swiping.