
Folder for organization:
- Tap the menu button in the top left corner.
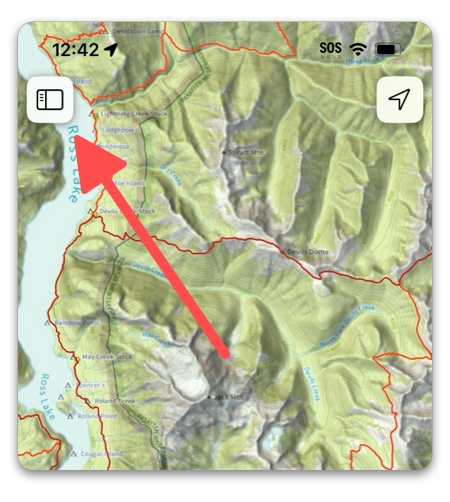
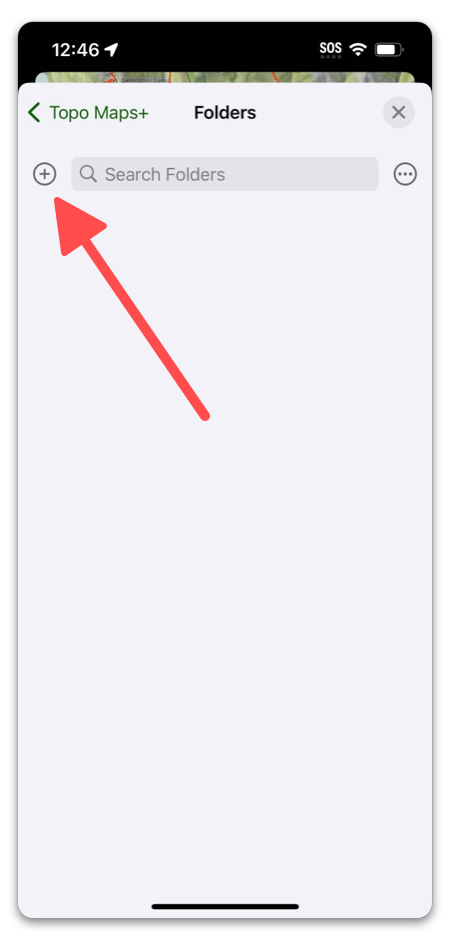
2. Tap Folders, then tap the + icon to create a folder:
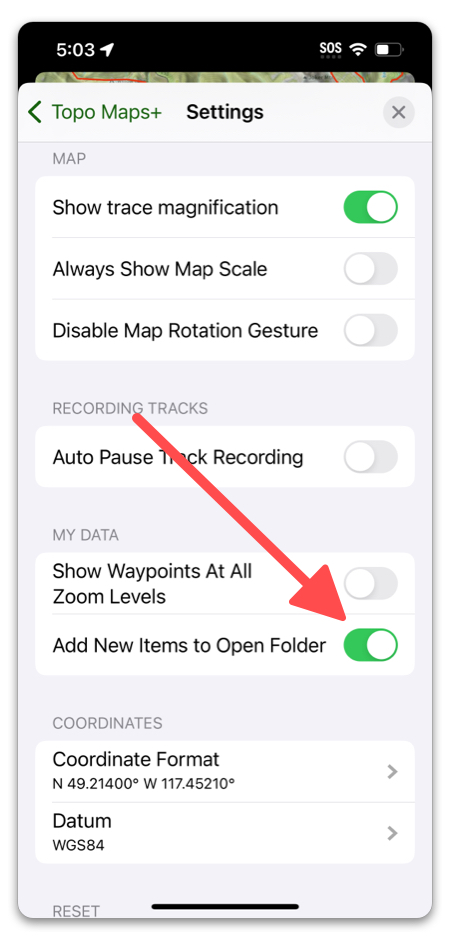
Then, go back to the menu and select Settings. Make sure Add New Items to New Folder is selected. When this is enabled, if you have a folder open in the menu, any new data you create will automatically be added to that folder. This is super handy for planning a trip, since once you’re done creating all the routes and dropping waypoints everything will already be organized in a folder for you.
Folders also make it easy to share all the info for the trip with others! If you want to learn about sharing data, here are two articles that should help: Sharing Trip Info, Share and Export Content.
If you want tips on organizing your trip data, click here.
Routes for each day
First, I break the trip into which trails we will hike each day. To do this, I select the trails on the map and then change the endpoints in the elevation profile to find out how long that section will be and how much elevation gain or loss it will have.
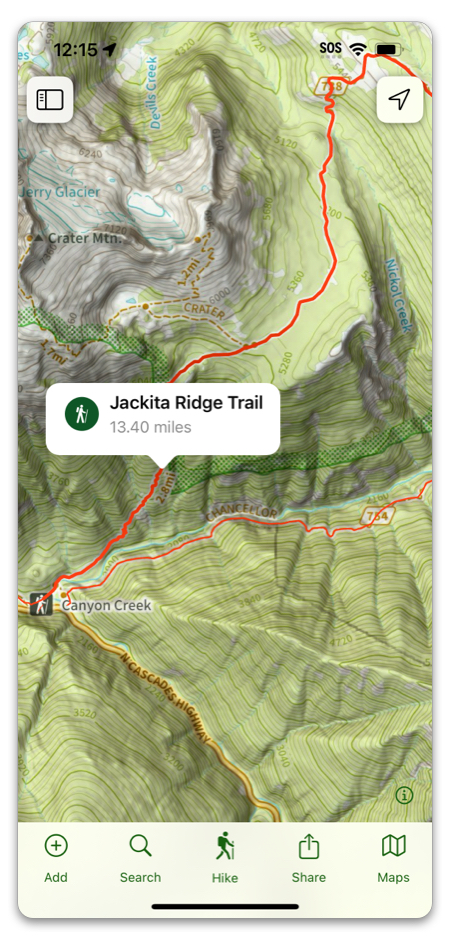
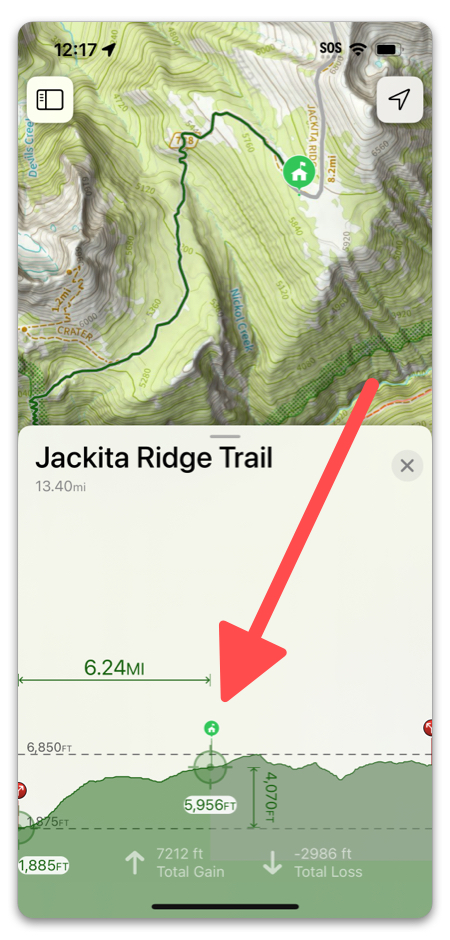
The Devil’s Dome Loop starts with a brutal climb, so I decided to make the first day a bit shorter. Looking at the elevation profile, I chose a stopping point that was a couple miles after the big climb.
Then, tap on the bottom left “+” button to add a route. If you have a selectable trail available you can select the option to Trace with Snap to Trails or Tap with Snap to Trails. If not, select Trace Route (Freehand).
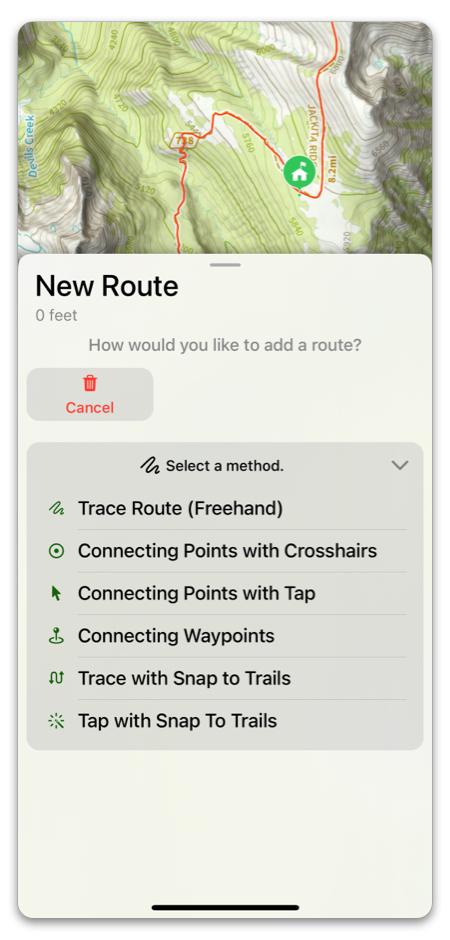
Draw or trace the route until it matches the miles you want to cover and then save the route. For this route I traced Jackita Trail until I reached the 6.12 miles I wanted for that day’s hike.
When you save your new route you can see the total elevation gain, total elevation loss, and distance in the elevations profile view. Once I have decided on a route for a day, I change the name:
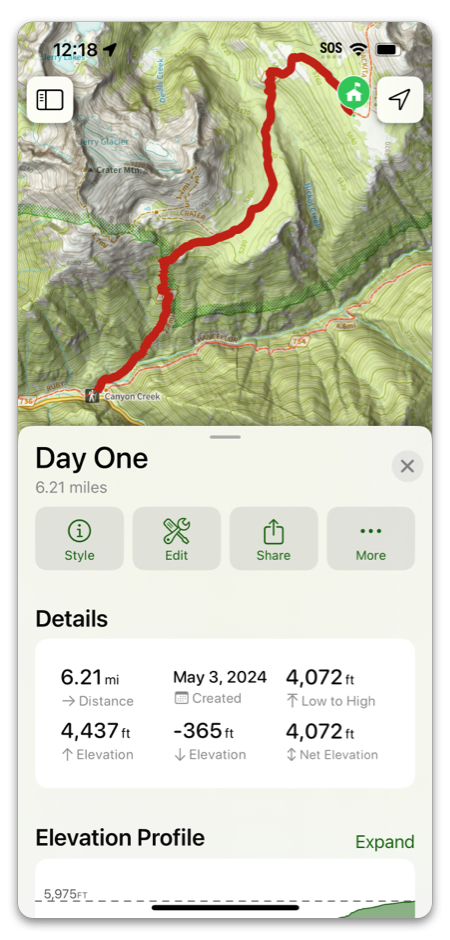
To make the route stand out on the map, I generally change the color by tapping on “Route Color.”
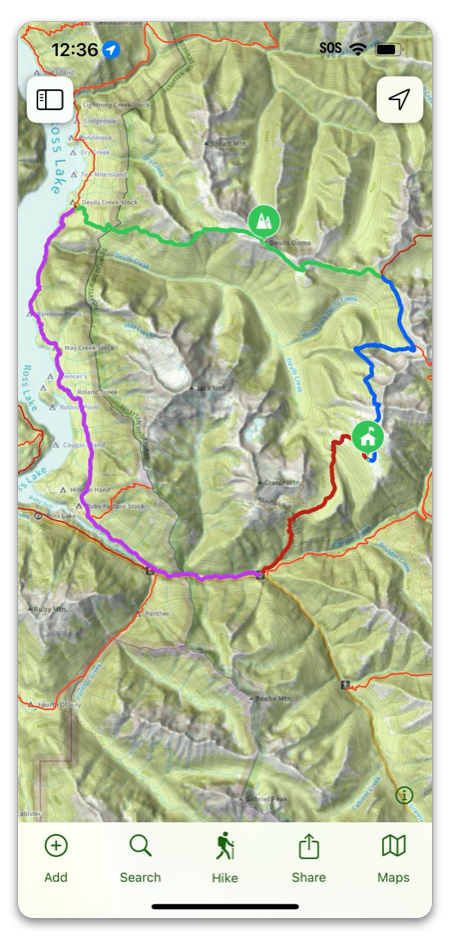
I will create a route for each day of the trip. Now, when I zoom out, I can see the full loop with each day’s segment in a different color.
Waypoints for Points of Interest
Once I have the routes set up for each day, I add waypoints for points of interest on the map. I do this so that those points stand out on the map AND because waypoints are automatically indexed for route segments in Topo Maps+ Pro.
To add a waypoint to the map, simply tap and hold on the map, move the crosshairs to where you want to place the point, and then tap Add.
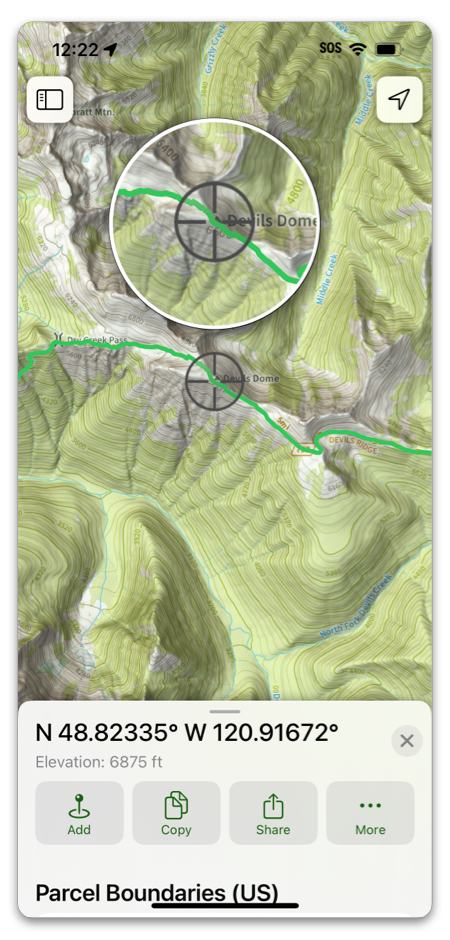
You can customize the name and icon for the waypoint once you add it to the map.