
You can customize the flow for adding new waypoints to better fit your personal scenario — whether you need to work quickly with only a little information or want to set everything up with your own defaults.
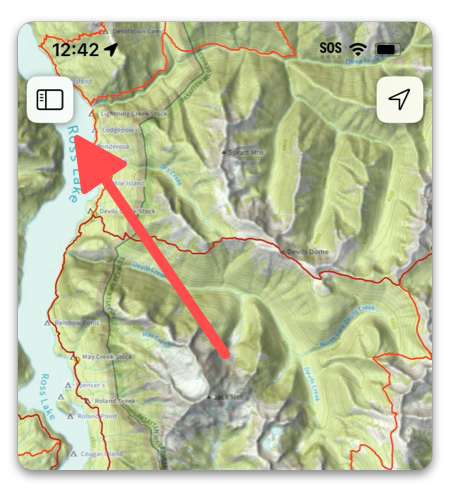
First, tap the menu button in the top left corner:
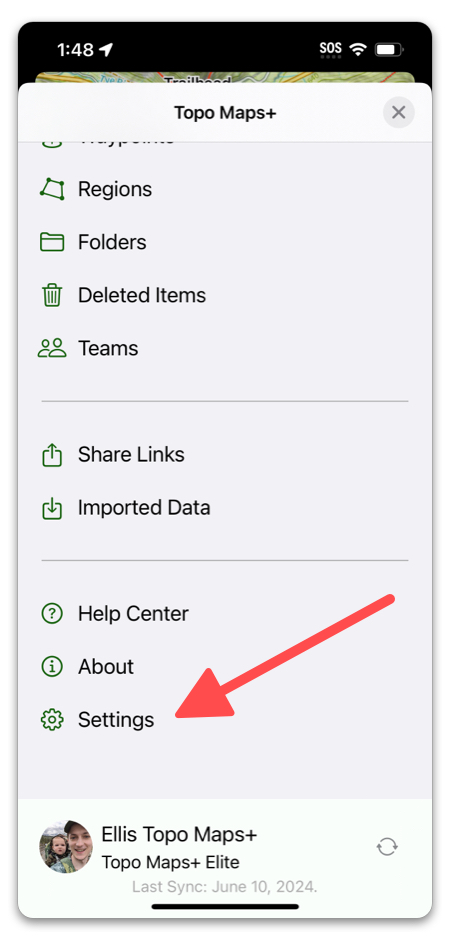
Then, scroll down and tap Settings:
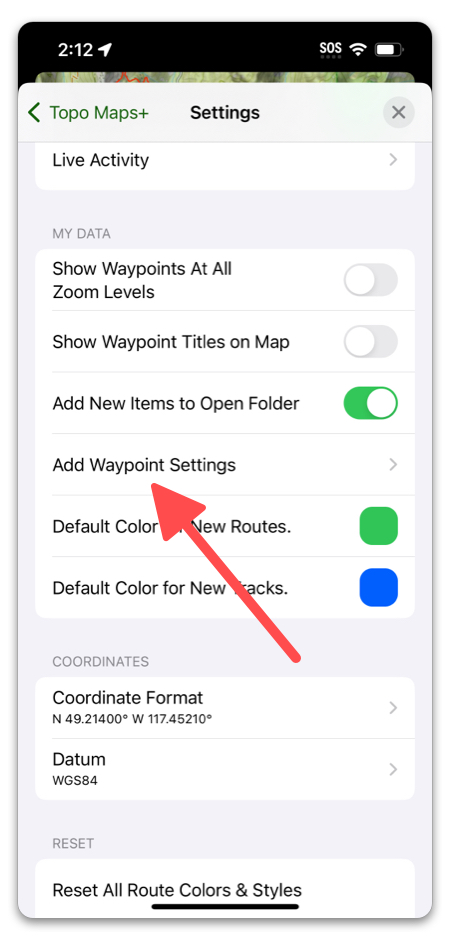
Scroll down and select Add Waypoint Settings:
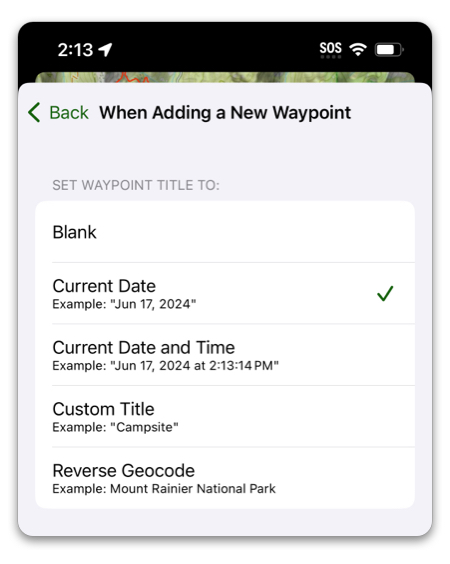
Setting the title:
Here, you can configure a default title for new waypoints.
- Blank — The title will remain blank.
- Current Date — This will take the current date at whatever time you create the waypoint and use it for the title. For example, “June 17, 2024”.
- Current Date & Time — This will add the time of day as well as the date, e.g. “June 17, 2024 at 2:20:19 PM”.
- Custom Title — Set a custom title that will always be used for new waypoints.
- Reverse Geocode — This is what Topo Maps+ used to default to. It will use the location to find a title based on nearby points of interest/areas.
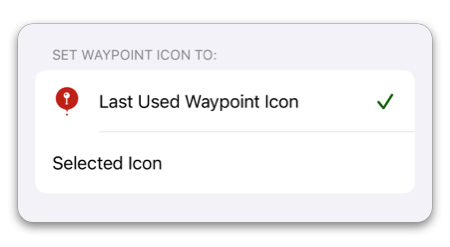
Setting the Icon:
- Last Used Waypoint Icon — This will always take the last icon you set for a waypoint.
- Selected Icon — Select a custom default icon.
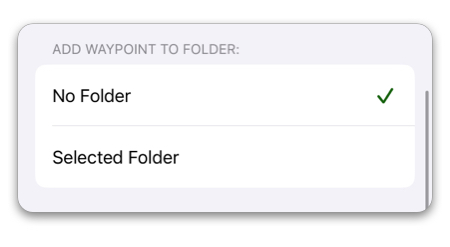
Add to Folder:
You can choose whether or not to automatically add new waypoints to a particular folder:
Choose What Displays Next:
Here, you can decide what you want to see in Topo Maps+ after creating a new waypoint.
- Nothing — No details or options to input a title or icon will appear. This is great for quickly adding waypoints.
- Set Waypoint Title Only — After adding a waypoint, a title field will pop up so you can quickly add a title.
- Set Waypoint Title & Icon — The icon selector will appear with a text field at the top.
- Full Waypoint Details — The waypoint card will pop up with the details as if you had tapped the waypoint on the map or menu.
- Set Waypoint Title & Full Waypoint Details — The waypoint card will pop up as well as a text field for adding the title.